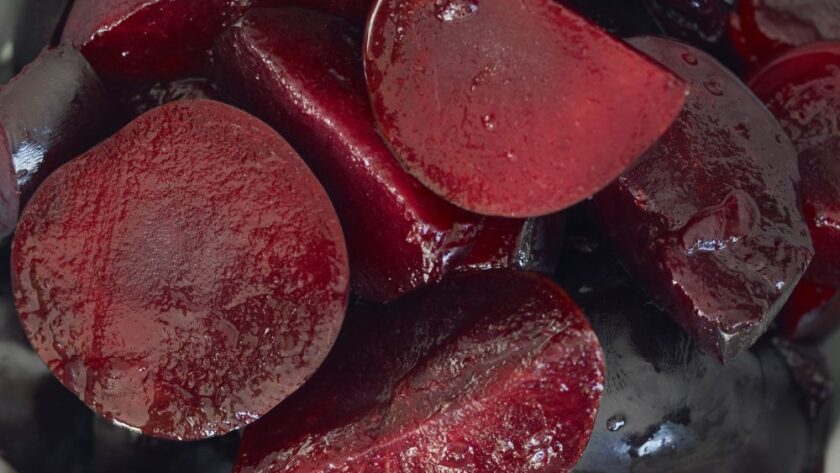
This Jamie Oliver Beetroot Chutney recipe is the simplest and easiest way to make traditional Beetroot Chutney at home. This old-fashioned beetroot chutney is made with raw beetroot, apple, sugar, red wine vinegar, onion, and dill seeds.
Jamie Oliver’s version of this chutney uses red wine vinegar, which gives a unique tanginess to the chutney. This is different from Mary Berry’s recipe, which uses cider vinegar. Mary Berry’s Beetroot Chutney Recipe.
If you want to make this beetroot chutney spicy, Jamie recommends adding garlic, red or green chilies, and a little cumin to kick up the heat.
Jamie Oliver Beetroot Chutney Ingredients
- 500g large beetroot, raw and peeled
- 2/3 tbsp dill seeds
- 1 large Bramley apple, peeled, cored, and chopped
- 2 red onions, finely chopped
- 250g caster sugar
- 250ml red wine vinegar
How To Make Jamie Oliver Beetroot Chutney
- Prepare the Mixture: Cut the beetroot into 1cm chunks. In a large saucepan, combine these beetroot chunks with dill seeds, chopped apple, finely chopped red onions, caster sugar, and red wine vinegar.
- Bring to Boil: Place the saucepan on medium-high heat and bring the mixture to a boil. Stir occasionally to ensure the sugar dissolves completely.
- Simmer: Once the mixture reaches a boiling point, reduce the heat to low. Let it simmer until the beetroot becomes tender and the liquid turns sticky, resembling a jam-like texture.
- Check Consistency: Stir occasionally during simmering. The mixture should become thick and have a jam-like consistency. If it’s too runny, continue simmering for a few more minutes.
- Jar and Store: Carefully divide the thickened mixture into sterilized jars. Seal the jars tightly and store them in a cool, dark place. Let the chutney sit for at least a week to allow the flavors to meld together.
What To Eat With Beetroot Chutney
Beetroot chutney goes great with cheese, crackers, and sandwiches. It’s also good with grilled meats and can be mixed into yogurt for a quick dip.
How Long Does Beetroot Chutney Last
When stored properly in sterilized jars and kept in a cool, dark place, beetroot chutney can last up to 6 months. Once opened, it’s best to consume it within 4 weeks and to keep it refrigerated.
Try More Chutney Recipes:
- Jamie Oliver Rhubarb Chutney
- Jamie Oliver Runner Bean Chutney
- Jamie Oliver Pear Chutney
- Jamie Oliver Marrow Chutney
- Green Tomato Chutney
- Mango Chutney

Jamie Oliver Beetroot Chutney
Description
This Jamie Oliver Beetroot Chutney recipe is the simplest and easiest way to make traditional Beetroot Chutney at home. This old-fashioned beetroot chutney is made with raw beetroot, apple, sugar, red wine vinegar, onion, and dill seeds. u003cbru003eu003cbru003eBeetroot chutney goes great with cheese, crackers, and sandwiches. It’s also good with grilled meats and can be mixed into yogurt for a quick dip.
Jamie Oliver Beetroot Chutney Ingredients
How To Make Jamie Oliver Beetroot Chutney
- Cut the beetroot into 1cm chunks. In a large saucepan, combine these beetroot chunks with dill seeds, chopped apple, finely chopped red onions, caster sugar, and red wine vinegar.
- Place the saucepan on medium-high heat and bring the mixture to a boil. Stir occasionally to ensure the sugar dissolves completely.
- Once the mixture reaches a boiling point, reduce the heat to low. Let it simmer until the beetroot becomes tender and the liquid turns sticky, resembling a jam-like texture.
- Stir occasionally during simmering. The mixture should become thick and have a jam-like consistency. If it’s too runny, continue simmering for a few more minutes.
- Carefully divide the thickened mixture into sterilized jars. Seal the jars tightly and store them in a cool, dark place. Let the chutney sit for at least a week to allow the flavors to meld together.