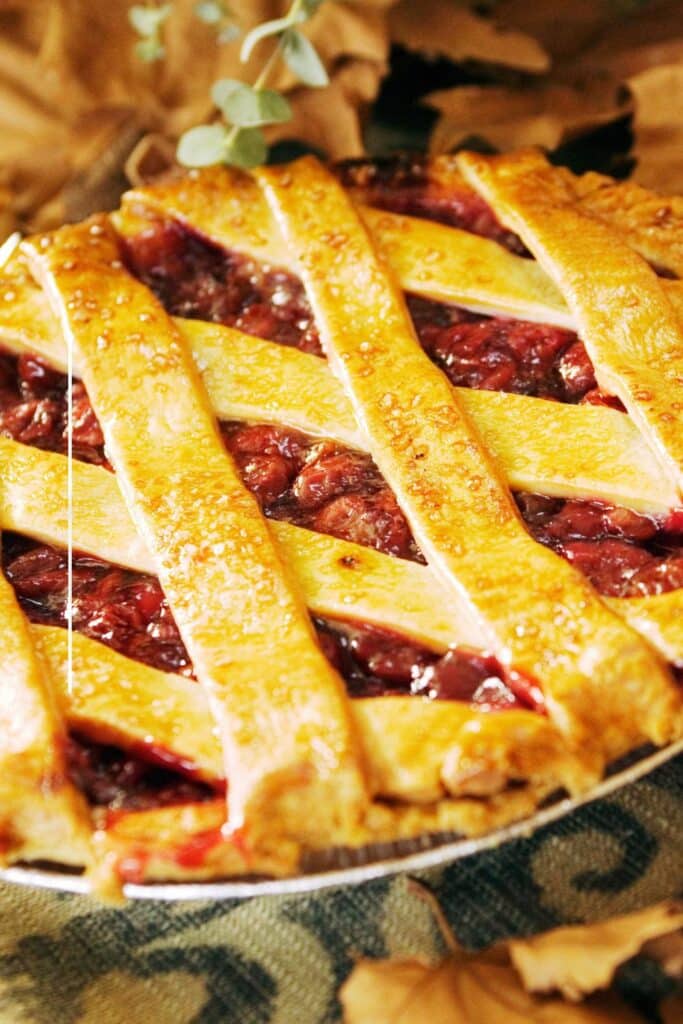
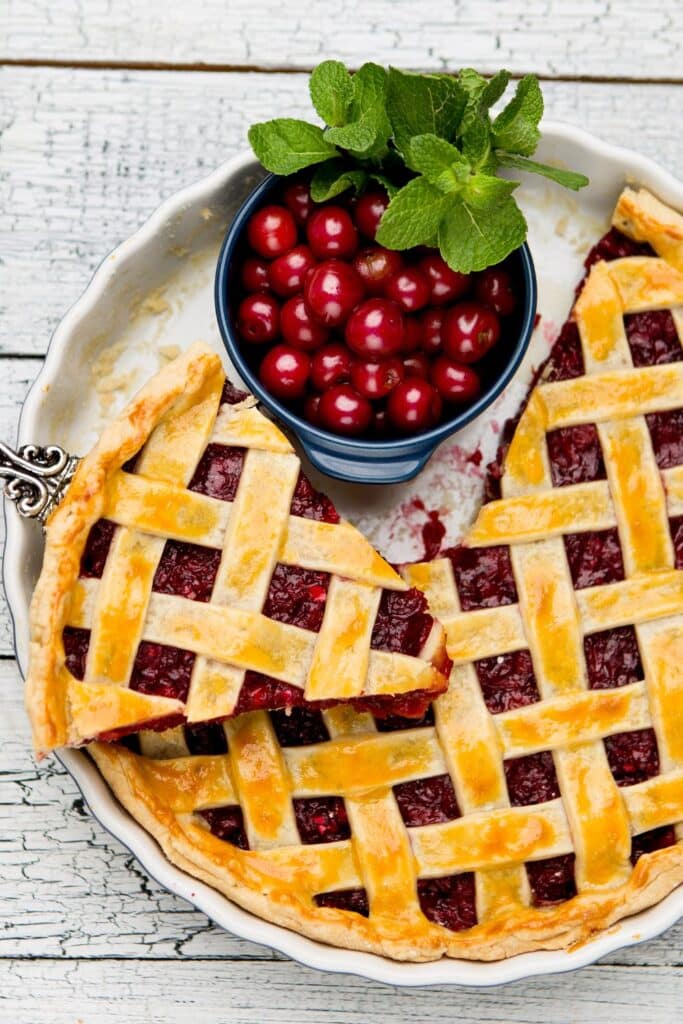
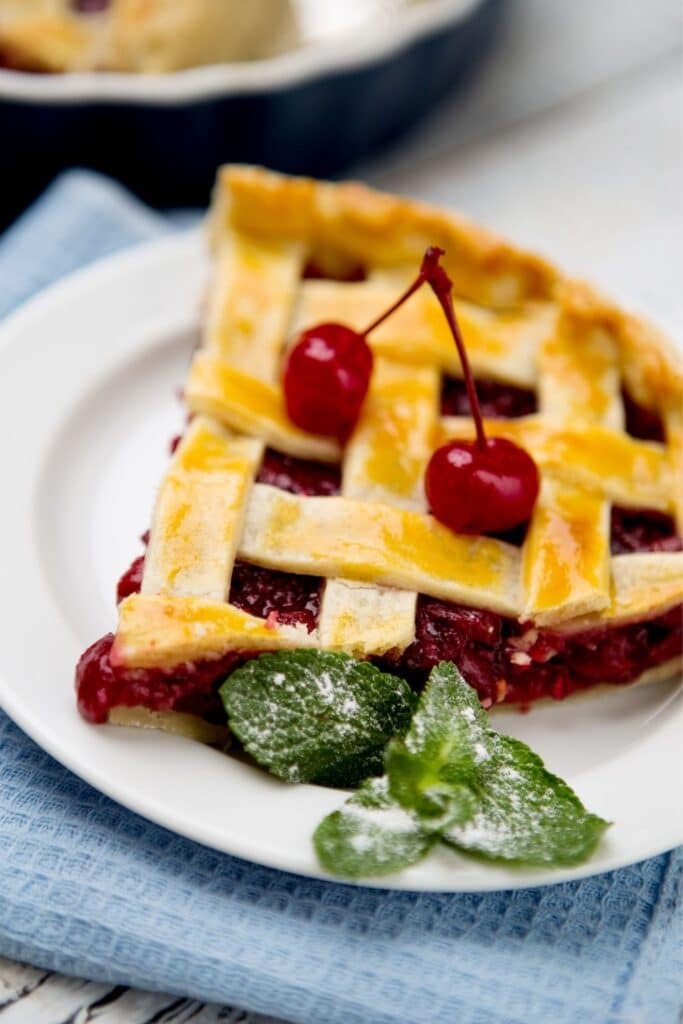
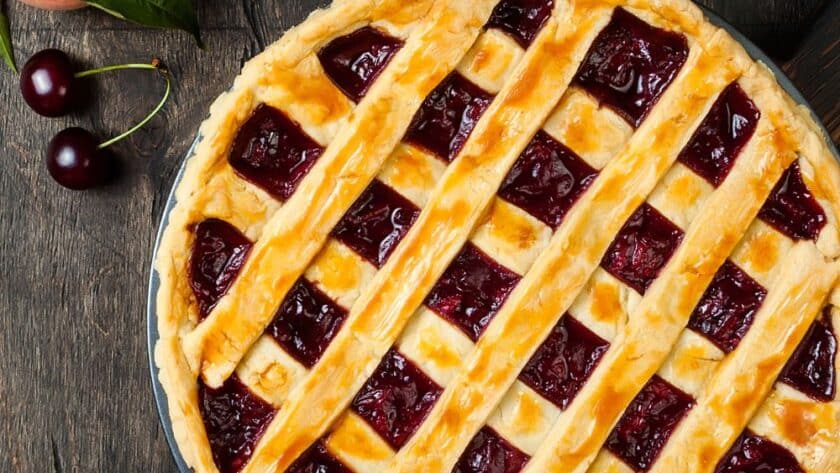
Ina Garten’s Cherry Pie recipe is one of the best and easiest cherry pie recipes ever. This homemade cherry pie is made with cherries (fresh, canned, or frozen), sugar, butter, pie crust, and a few other ingredients. This pie takes about 50 minutes to finish baking and can yield about 12 slices. Make sure to leave a comment if you try this recipe.
Cherry Pie Ingredients
- 1.5 lbs fresh, sour cherries or three (14.5 oz) cans of cherries
- 3/4 cup granulated sugar
- 2 Tablespoons lemon juice
- 1/3 cup cornstarch
- 2 Tablespoons butter
- 1/2 teaspoon ground cinnamon
- Homemade pie crust (this recipe makes 2 crusts: one for the bottom and one for the top)
- 1 large egg white, beaten with a fork
- Granulated sugar, for sprinkling on top
How To Make Cherry Filling With Fresh Cherries
- Combine 1.5 lbs of pitted, halved fresh cherries with 3/4 cup sugar and 2 tablespoons lemon juice in a saucepan.
- Cook on medium heat until juices are released.
- Remove the cherries, leaving the juice in the pan. Mix some juice with 1/3 cup cornstarch until dissolved, then return to the pan.
- Cook until thickened, then pour over cherries. Set aside.
How To Make Cherry Pie Filling From Canned Cherries
- Drain juice from three 14.5 oz cans of cherries into a saucepan, reserving ⅓ cup.
- Mix 1/3 cup cornstarch with the reserved juice, then add to the saucepan.
- Add 3/4 cup sugar, bring to a low boil, and stir until thickened.
- Stir in 2 tablespoons each of butter and lemon juice, then fold in cherries. Cool before using.
How To Make Cherry Pie Filling From Frozen Cherries
- Thaw 8 cups of frozen cherries in a saucepan over medium heat until they release their juice, about 10-15 minutes.
- Proceed as with fresh cherries, but consider using 6 tablespoons of cornstarch and adjusting the sugar to taste. Don’t discard any juice.

How To Make The Pie Crust For Cherry Pie
- Combine Ingredients: In a large bowl, mix 2 1/2 cups all-purpose flour and 1 teaspoon kosher salt. Add 6 tablespoons cold unsalted butter and 3/4 cup chilled vegetable shortening.
- Blend: Use a pastry blender or forks to cut the fats into the flour until it looks like crumbs.
- Add Water: Gradually add ice water, a tablespoon at a time, until the dough forms a ball. Avoid overworking the dough or adding too much water.
- Form Dough: Divide the dough into two discs, wrap it in plastic, and refrigerate for at least 2 hours or up to 24 hours. You can also freeze the dough for up to three months.
- Roll Out: Roll out a dough disc on a lightly floured surface to about 12 inches in diameter and place it in your pie dish.
- Trim and Crimp: Trim excess dough, leaving an inch overhang. Fold the overhang under and crimp the edges.
- Ready to Use: Your pie crust is now ready to be filled with cherry filling.
How To Assemble and Bake Your Cherry Pie
- Preheat Oven and Prepare Pan: Set your oven to 400°F (200°C) and have a 9-inch pie pan ready. A deep-dish pan works well if you’re using canned cherries or a large amount of cherries.
- Prepare Bottom Crust: Roll out one piece of your pie crust dough to about 12 inches in diameter and place it in your pie dish.
- Add Filling: Spoon the cherry filling into the unbaked crust. For added flavor, sprinkle a little ground cinnamon over the filling. If using fresh cherries, dot the filling with small pieces of butter.
- Prepare Top Crust: Roll out your second piece of pie crust. Cut it into long strips for a lattice pattern or place the whole crust over the filling. If using a whole crust, cut a small hole in the top for steam to escape.
- Seal and Decorate Edges: Pinch the edges of the crusts together to seal the filling inside. Crimp the edge for a decorative touch.
- Add Finishing Touches: Brush a thin layer of beaten egg white over the crust for a golden finish. Sprinkle some granulated sugar over the egg wash for a touch of sweetness and sparkle.
- Bake: Bake the pie for about 40-45 minutes. If the crust is browning too quickly after about 25 minutes, cover it with a piece of aluminum foil.
- Cool: After baking, let the pie cool on a wire rack for several hours to allow the filling to set. Once completely cooled, slice and serve, or cover and refrigerate to serve the next day.
What Temperature Do You Bake A Cherry Pie
Cherry pies can be baked in the oven at 400 and 350 degrees.
Baking a cherry pie at 400 will yield a beautifully golden brown and crispy crust, both on the top and bottom. This higher temperature helps to ensure that the bottom crust cooks thoroughly and doesn’t become soggy.
Alternatively, baking at 350 is a safer temperature that reduces the risk of the crust browning too quickly.
How Long To Bake A Cherry Pie
If you’re baking your pie at 400 degrees F, it will typically take about 40-45 minutes. If you choose to bake at 350 degrees F, it will take a bit longer, around 50-55 minutes.
How To Know When Cherry Pie Is Done
You’ll know your cherry pie is done baking when the crust is golden brown and the filling is bubbling. If the crust is browning too quickly, you can gently place a piece of aluminum foil over the top to prevent it from burning.
How Long Can Cherry Pie Sit Out
Cherry pie can sit out at room temperature for up to two hours. After that, it’s best to refrigerate it. It’s not recommended to leave cherry pie out overnight.

Does Cherry Pie Need To Be Refrigerated
Yes, you should put cherry pie in the fridge after baking, this keeps the pie fresh and safe to eat. Plus, a cold cherry pie tastes really good! The cherry flavor gets stronger and the pie feels nicer to eat. Just make sure the pie is cool before you put it in the fridge, so it doesn’t get soggy.
How Long Does Cherry Pie Last In The Fridge
Properly stored, cherry pie can last in the fridge for about 4-5 days. To store it effectively, allow the pie to cool completely after baking. Then, you can either cover the whole pie and refrigerate it, or slice it into servings and place them in airtight containers before transferring to the fridge. This makes it easy to grab a slice whenever you want a sweet treat.
Can You Freeze Cherry Pie
Yes, cherry pie freezes well. It can last in the freezer for about 2-3 months. To freeze cherry pie correctly, first, let it cool completely after baking. Then, wrap it tightly in plastic wrap or aluminum foil then transfer it to the freezer. when you ready to serve it again, just reahet it in the oven directly from freezer wihtout tahwing.
Can You Freeze Cherry Pie Filling
If you have leftover cherry pie filling, you can definitely freeze it. It can last in the freezer for up to 6 months. To freeze the filling correctly, let it cool completely, then put it in a freezer-safe container or bag. Make sure to leave some space because the filling will expand as it freezes.
When you are ready to use it again, just place it in the fridge and it will be completely defrosted overnight.
How To Bake Frozen Cherry Pie
Here is how to bake baked and frozen cherry pie without thawing:
- Preheat your oven to 350°F.
- Remove the pie from the freezer and unwrap it.
- Place the frozen pie on a baking sheet to catch any drips.
- Bake the pie for about 25-30 minutes, or until it’s thoroughly heated through and the crust is crispy.
- Let the pie cool for a few minutes before serving.
What To Do With Leftover Cherry Pie Filling
- Ice Cream Topping: Spoon it over vanilla ice cream for a fruity twist.
- Pancake or Waffle Topping: Use it as a sweet, tangy topping for your breakfast favorites.
- Smoothie Ingredient: Blend it into a smoothie for added flavor and texture.
- Yogurt Mix-In: Stir it into plain or vanilla yogurt for homemade fruit yogurt.
- Crepes Filling: Use it as a filling for crepes for a delicious dessert or brunch option.

Cherry Pie Calories And Nutrition Facts
- Calories: 122 kcal
- Carbohydrates: 26g
- Fat: 2g
- Saturated Fat: 1g
- Cholesterol: 5mg
- Sodium: 21mg
- Potassium: 106mg
- Fiber: 1g
- Sugar: 22g
- Vitamin A: 90 IU
- Vitamin C: 4.2 mg
- Calcium: 7 mg
- Iron: 0.2 mg
Cherry Pie FAQs
What Cherries To Use For Cherry Pie
Sour or tart cherries are typically the best choice for cherry pie. They have a natural tartness that balances out the sweetness of the sugar in the pie filling. If you can’t find fresh sour cherries, canned sour cherries or even frozen cherries can work well.
How Many Cans Of Cherry Pie Filling For A Pie
For a standard 9-inch pie, you’ll typically need about two 21-ounce cans of cherry pie filling.
Can You Mix Apple And Cherry Pie Filling
Yes, you can mix apple and cherry pie filling. For a unique pie, use about 3 peeled and sliced medium-sized apples and 1 cup of pitted cherries. Combine these with 3/4 cup of sugar, 2 tablespoons of cornstarch, 1 tablespoon of lemon juice, and a pinch of cinnamon or nutmeg. Mix well, pour into your pie crust, and bake as usual.
How Long To Bake Cherry Pie Without Top Crust
A cherry pie without a top crust (also known as a single-crust or open-faced pie) should be baked for about 35-40 minutes at 375°F, or until the filling is bubbling and the bottom crust is golden.
How Much Cornstarch To Thicken Cherry Pie Filling
For a cherry pie, you’ll typically need about 1/3 cup of cornstarch to thicken the filling.
Try More Pie Recipes:
Ina Garten Cherry Pie
Description
Ina Garten’s Cherry Pie recipe is one of the best and easy to make cherry pie recipes ever. This homemade cherry pie is made with cherries (fresh, canned, or frozen), sugar, butter, pie crust, and a few other ingredients. This pie takes about 50 minutes to finish baking and can yield about 12 slices. Make sure to leave a comment if you try this recipe.
Ina Garten Cherry Pie Ingredients
How To Make Ina Garten Cherry Pie
- Combine 1.5 lbs of pitted, halved fresh cherries with 3/4 cup sugar and 2 tablespoons lemon juice in a saucepan. Cook on medium heat until juices are released. Remove the cherries, leaving the juice in the pan.
- Mix some juice with 1/3 cup cornstarch until dissolved, then return to the pan. Cook until thickened, then pour over cherries. Set aside.
- Drain juice from three 14.5 oz cans of cherries into a saucepan, reserving ⅓ cup. Mix 1/3 cup cornstarch with the reserved juice, then add to the saucepan. Add 3/4 cup sugar, bring to a low boil, and stir until thickened.
- Stir in 2 tablespoons each of butter and lemon juice, then fold in cherries. Cool before using.
- Thaw 8 cups of frozen cherries in a saucepan over medium heat until they release their juice, about 10-15 minutes. Proceed as with fresh cherries, but consider using 6 tablespoons of cornstarch and adjusting the sugar to taste. Don’t discard any juice.
- Preheat your oven to 400°F (200°C) and prepare a 9-inch pie pan. Roll out one piece of your pie crust dough to about 12 inches in diameter and place it in your pie dish.
- Spoon the cherry filling into the unbaked crust. For added flavor, sprinkle a little ground cinnamon over the filling. If using fresh cherries, dot the filling with small pieces of butter.
- Roll out your second piece of pie crust. Cut it into long strips for a lattice pattern or place the whole crust over the filling. If using a whole crust, cut a small hole in the top for steam to escape.
- Pinch the edges of the crusts together to seal the filling inside. Crimp the edge for a decorative touch. Brush a thin layer of beaten egg white over the crust for a golden finish. Sprinkle some granulated sugar over the egg wash for a touch of sweetness and sparkle.
- Bake the pie for about 40-45 minutes. If the crust is browning too quickly after about 25 minutes, cover it with a piece of aluminum foil.
- After baking, let the pie cool on a wire rack for several hours to allow the filling to set. Once completely cooled, slice and serve, or cover and refrigerate to serve the next day.
How To Make Cherry Filling With Fresh Cherries:
How To Make Cherry Pie Filling From Canned Cherries:
How To Make Cherry Pie Filling From Frozen Cherries:
How To Assemble and Bake Your Cherry Pie:
Notes
- The cherry pie filling and pie crust can be made a few days in advance and stored in the fridge until ready to use. Baked and cooled cherry pie can be covered tightly and frozen for 2-3 months. Thaw overnight in the refrigerator.
- The prepared cherry pie filling and pie crust can also be frozen, stored separately.

