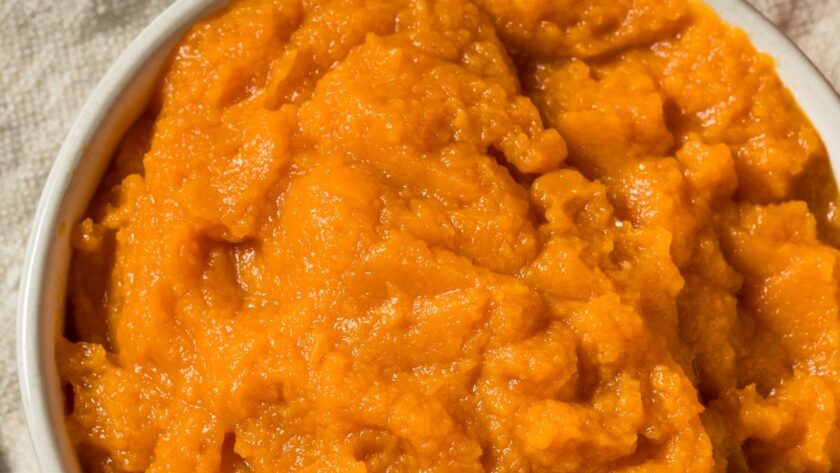
Pioneer Woman Pumpkin Puree is made by roasting two small pumpkins at 350°F for 45 minutes, then blending the soft flesh until completely smooth. The puree freezes well in one-cup portions, so you can pull out exactly what you need for pies, soups, or bread all season long.
Ree Drummond walks through this recipe on thepioneerwoman.com after making it with her mother-in-law for a from-scratch Thanksgiving dinner years ago. She roasts the pumpkin halves skin-on, which makes peeling effortless once the flesh turns fork-tender and lightly golden.
Choosing small sugar pumpkins over large carving varieties is the step that matters most, because bigger pumpkins tend to produce watery puree with off flavors that no amount of spice can hide.

Pioneer Woman Pumpkin Puree
Description
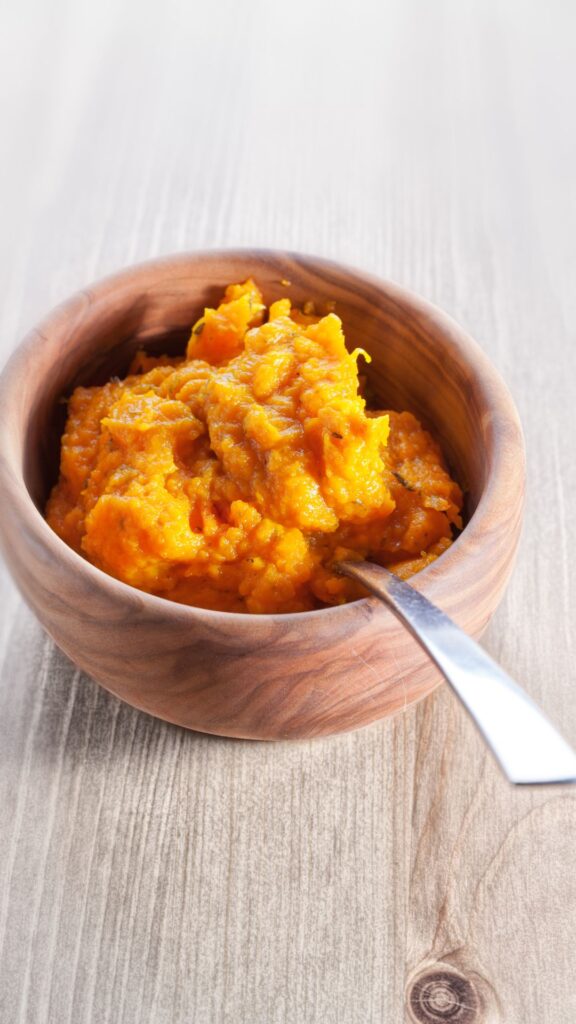
Small pumpkins halved, seeded, and roasted until fork-tender, then peeled and blended into a silky puree that works in pies, soups, bread, and risotto or freezes flat in bags for months.
Ingredients
Instructions
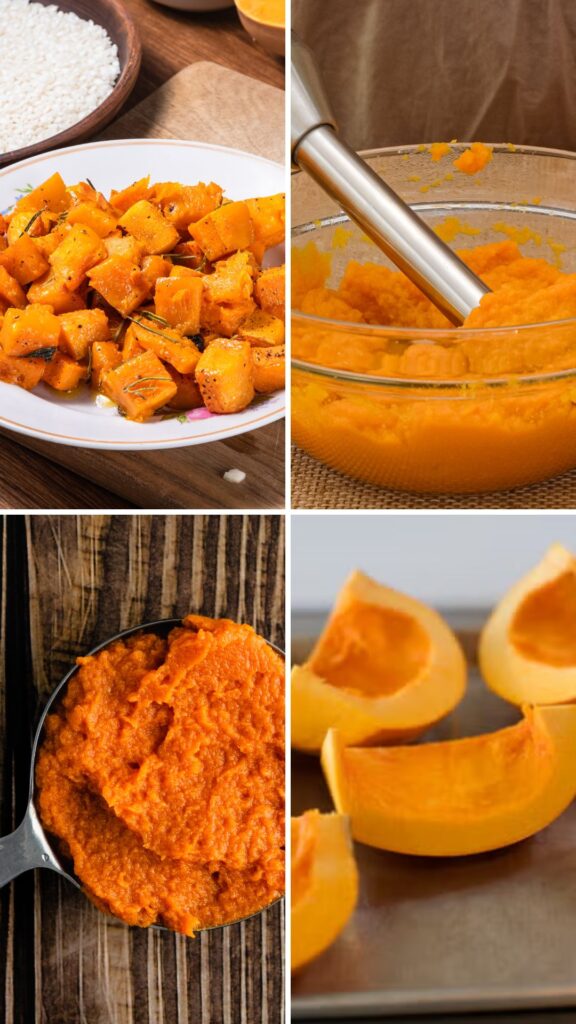
- Cut each pumpkin in half and use a spoon or scoop to scrape out the seeds and pulp from the center, reserving the seeds in a separate bowl.
- Place the pumpkin pieces on a baking sheet and roast in a 350°F oven for 45 minutes, until fork-tender and light golden brown.
- Peel the skin off each pumpkin piece once cool enough to handle, using a knife to scrape any flesh that clings to the skin.
- Add the pumpkin flesh to a food processor a few chunks at a time and pulse until completely smooth, adding a few tablespoons of water if the mixture looks too dry.
- Strain the puree through cheesecloth or a fine mesh strainer if it turns out overly watery, then transfer to a bowl.
- Continue pureeing the remaining pumpkin chunks until all the flesh is done.
- Use the puree immediately in any pumpkin recipe, or spoon about 1 cup into each plastic storage bag, flatten it out, push out the air, and freeze.
FAQs
What kind of pumpkin works best for homemade puree?
Small sugar pumpkins or pie pumpkins are the best choice because they have sweeter, denser flesh with less water content. Large carving pumpkins produce a stringy, watery puree with odd flavors that does not work well in baking. Look for pumpkins that feel heavy for their size at the market.
Do I need to peel the pumpkin before roasting?
No, you roast the pumpkin skin-on because the heat softens the flesh and loosens the skin at the same time. Once the halves come out of the oven fork-tender, the skin peels right off with very little effort. Ree Drummond sometimes uses a knife to scrape the flesh away from stubborn spots.
Can I use a blender instead of a food processor?
A blender works fine, but you will need to add a little water to help the blades move through the thick pumpkin flesh. A potato masher, potato ricer, or food mill also work if you prefer a more hands-on method. Just keep processing until no lumps remain, similar to how you would blend soup for Butternut Squash Soup.
How long does homemade pumpkin puree last in the fridge?
Stored in an airtight container, the puree stays fresh in the refrigerator for up to five days before the flavor starts to fade. For longer storage, freezing in one-cup portions is the better option because it keeps well for six to eight months. Ree Drummond says she has used year-old frozen puree with great results.
What can I make with homemade pumpkin puree?
It works beautifully in pumpkin pie, pumpkin bread, pumpkin soup, and pumpkin risotto, since the fresh flavor is noticeably brighter than canned versions. You can also stir it into oatmeal, pancake batter, or pasta sauce for a subtle sweetness. Try it in Pumpkin Pie to taste the difference yourself.
Should I save the pumpkin seeds?
Yes, the seeds are worth keeping because they roast into a crunchy, salty snack that takes just a few minutes to prepare. Rinse them clean, toss with a little oil and salt, then spread on a baking sheet and roast until golden. They also work well as a topping for soups or tossed into salads for added texture.