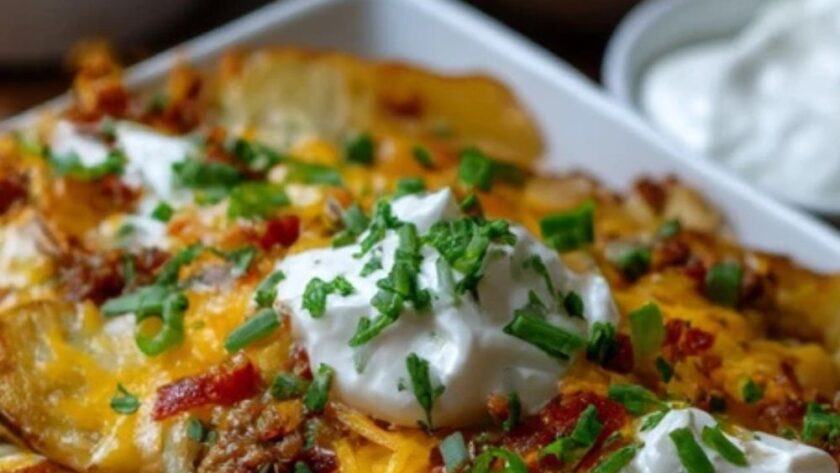
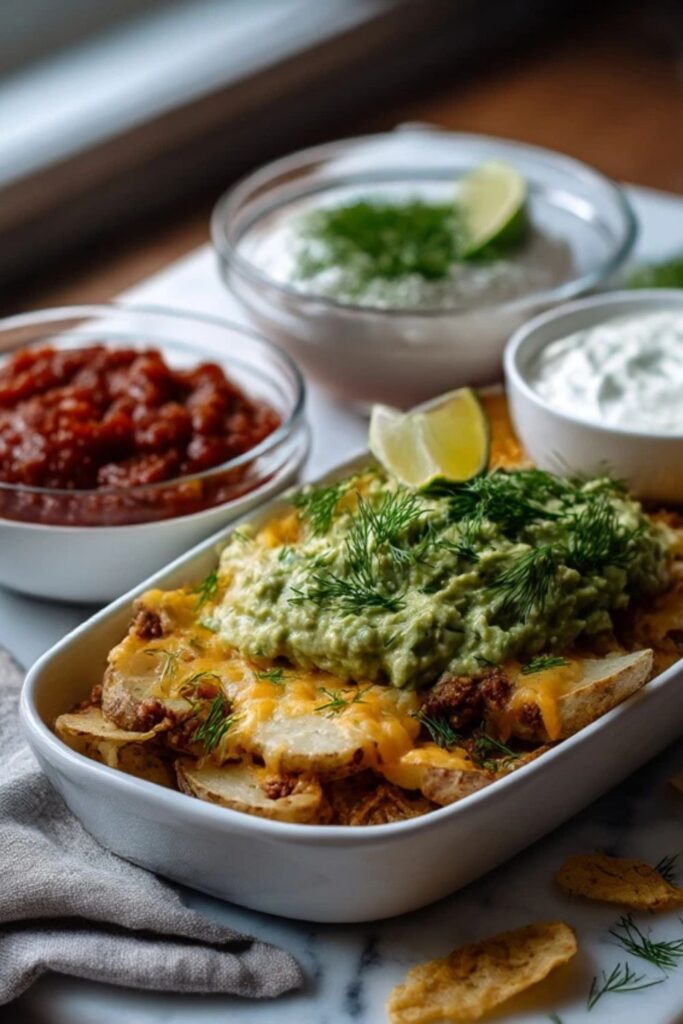
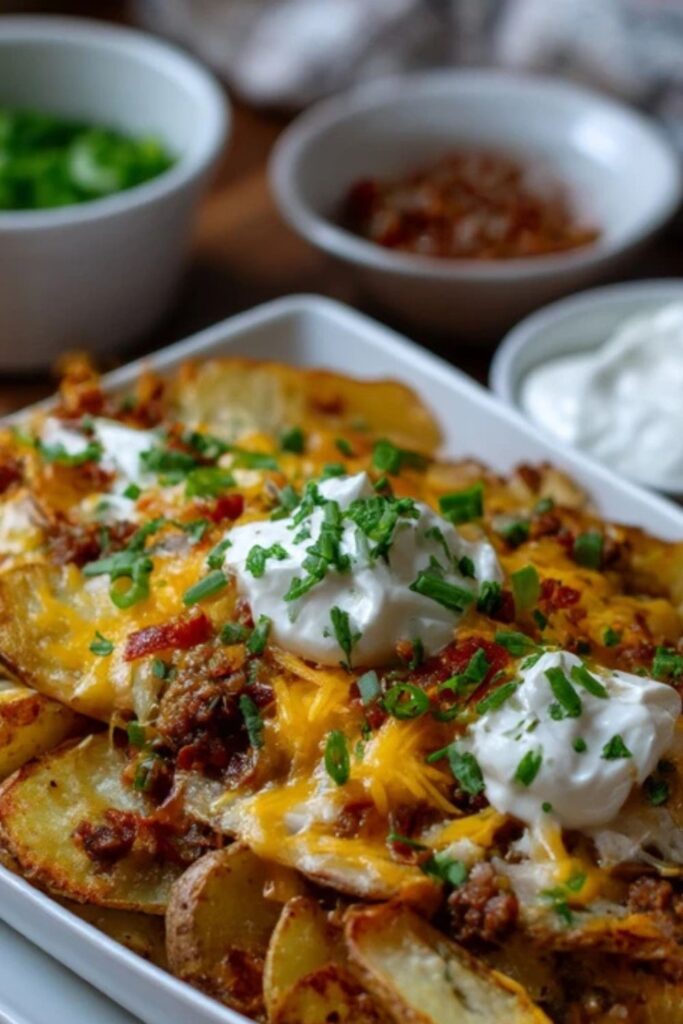
Pioneer Woman Potato Nachos are a hearty American side dish featuring thick rounds of russet potatoes. These baked slices are loaded with melted cheddar, crispy bacon, and pickled jalapeños for a salty, sharp finish.
I’ve made these for several game days and the biggest lesson I learned is about the thickness of the potato slices. If you cut them too thin, they turn into flimsy chips that can’t hold the weight of the cheese and toppings. You want them thick enough to stay sturdy but thin enough to cook through before the edges burn. I keep mine at about a quarter-inch and it works every time.
Getting that initial bake right is what makes the whole tray successful. If you don’t let the potatoes get a little bit of color and a crisp outer layer before you add the toppings, you’ll end up with a soggy mess once the cheese melts. I always make sure they’re spread out in a single layer so the hot air hits every edge. The smell of the roasting potatoes mixed with the seasoned salt always brings everyone into the kitchen before the tray is even done.
Pioneer Woman Potato Nachos Ingredients
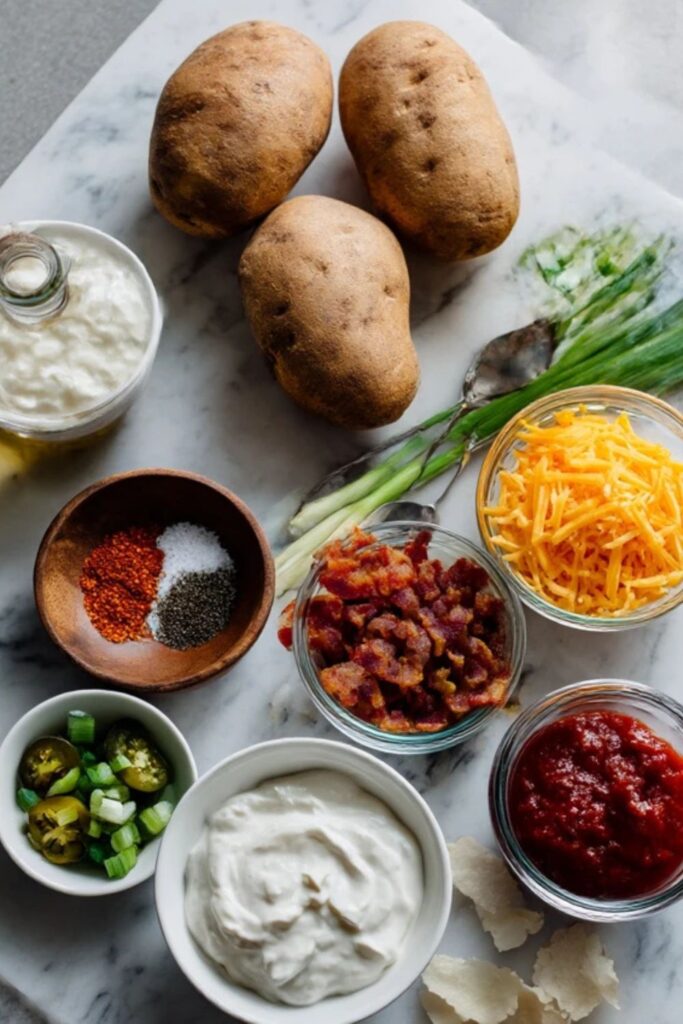
- 4 large russet potatoes, scrubbed clean
- 3 tablespoons (45ml) olive oil
- 1 teaspoon (6g) seasoned salt
- 1/2 teaspoon (1g) black pepper
- 2 cups (225g) sharp cheddar cheese, shredded
- 8 slices bacon, cooked and crumbled
- 1/2 cup (75g) pickled jalapeño slices
- 2 green onions, thinly sliced
- 1/2 cup (120g) sour cream
- 1/4 cup (60ml) salsa
How To Make Pioneer Woman Potato Nachos
1. Prep the oven: Set your oven to 400°F (200°C) and make sure the rack is in the center position. Lightly grease two large baking sheets with a bit of oil or a quick spray so the starch doesn’t stick.
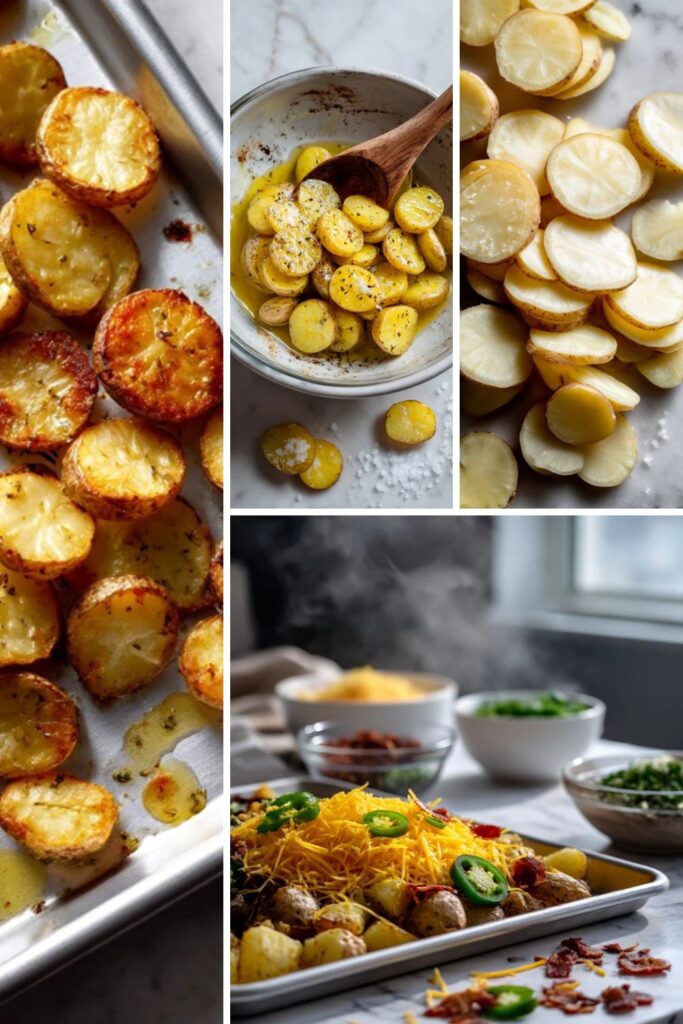
2. Slice the potatoes: Cut the potatoes into rounds that are roughly 1/4-inch thick using a sharp knife. Try to keep them as even as possible so they all finish baking at the same time.
3. Season the rounds: Toss the slices in a large bowl with the olive oil, seasoned salt, and pepper until every piece is coated. Lay them out on the baking sheets in a single layer, making sure they aren’t overlapping or touching too much.
4. First bake: Slide the pans into the oven and bake for about 20 minutes before flipping each slice over with a spatula. Give them another 15 to 20 minutes until they’re golden brown and feel soft in the middle when poked with a fork.
5. Add the toppings: Move all the cooked potatoes onto one tray and bunch them together slightly so there aren’t big gaps. Cover the pile with the shredded cheese, crumbled bacon, and jalapeño slices.
6. Melt the cheese: Put the tray back in the oven for about 5 minutes or until the cheese is bubbling and completely melted. Keep a close eye on it during these last few minutes so the bacon doesn’t scorched.
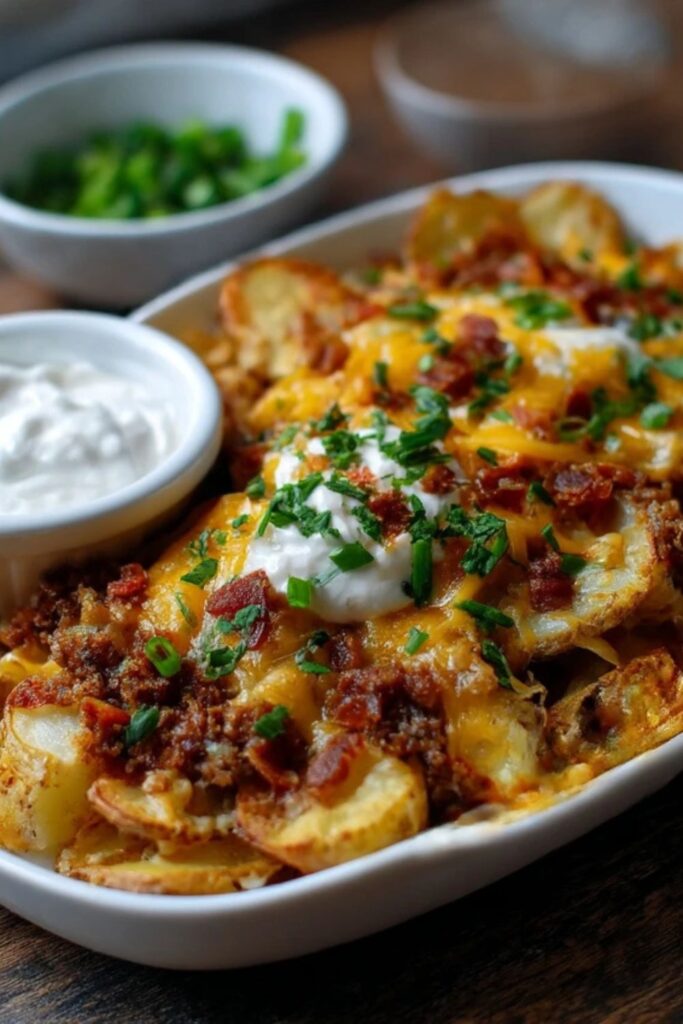
7. Add the cold toppings: Pull the tray out and scatter the green onions over the top while everything is still hot. Serve the sour cream and salsa in small bowls on the side or dollop them right onto the middle of the pile.
Recipe Tips
- Dry the potatoes before oiling. After you slice them, pat the rounds with a paper towel to remove extra moisture. Water on the surface will steam the potatoes instead of letting the oil crisp them up.
- Use a block of cheese. Pre-shredded cheese is coated in potato starch to keep it from Clumping in the bag, but that also stops it from melting smoothly. Grating your own cheddar from a block gives you a much better stretch and a cleaner flavor.
- Space them out properly. If you crowd the baking sheet during the first bake, the potatoes will stay pale and mushy. Using two pans ensures there’s enough room for the steam to escape so the edges can actually get some texture.
- Cook the bacon extra crispy. Since the bacon goes back into the oven with the cheese, it might soften slightly from the fat. Starting with very crunchy bits ensures they still have a good bite when you finally eat them.
- Prepare the toppings ahead. You can fry the bacon and chop the onions earlier in the day to save time. Just keep the cold items in the fridge until the moment the potatoes are ready for their final melt.
- Adjust the heat level. If you’re serving kids or people who don’t like spice, leave the jalapeños on just one half of the tray. You can also use mild green chiles if you want the flavor without the sting of the peppers.
What To Serve With Potato Nachos
A big bowl of guacamole or some extra chunky salsa goes perfectly with these. You can also put out some ranch dressing if you want a cooling dip that isn’t sour cream.
For a fuller meal, these work great alongside grilled chicken or simple smash burgers. Since the potatoes are quite heavy, a crisp green salad with a lime vinaigrette helps balance the richness.
How To Store Potato Nachos
Fridge: Put any leftovers in an airtight container once they’ve cooled down. They’ll stay good for about three days, though the potatoes will lose their crispness the longer they sit.
Reheat: The best way to warm these up is in the oven at 350°F (175°C) until the cheese is bubbly again. Avoid the microwave because it turns the potato rounds into rubbery discs that aren’t very pleasant to eat.
Freeze: I don’t recommend freezing these because the texture of the cooked potato and the sour cream changes too much. It’s better to make a fresh batch whenever you want them.
Pioneer Woman Potato Nachos Nutrition Facts
Per serving (1 of 6):
- Calories: 410 kcal
- Protein: 14g
- Fat: 26g
- Carbohydrates: 32g
- Sugar: 3g
- Sodium: 840mg
FAQs
Can I use sweet potatoes for Pioneer Woman Potato Nachos?
Yes, but you’ll need to watch the oven closely since sweet potatoes have more sugar and burn faster than russets. They also tend to stay a bit softer, so don’t expect the same level of crunch.
Why are my potato nacho rounds soggy?
This usually happens if the slices were too crowded on the pan or if you didn’t bake them long enough before adding the cheese. Make sure they have plenty of space and look golden brown before you start layering the toppings.
Can I make these Pioneer Woman Potato Nachos in an air fryer?
Yes, you can cook the seasoned potato rounds in batches at 375°F for about 15 minutes, shaking the basket halfway through. Once they’re crisp, add the cheese and bacon for a final two minutes to melt everything together.
What’s the best potato for this recipe?
Russet potatoes are the top choice because their high starch content leads to a fluffier inside and a crispier skin. Yukon Golds work in a pinch, but they’re waxier and won’t get quite as crunchy as the russets.
How do I stop the potatoes from sticking to the pan?
Make sure you use enough oil to coat the slices and grease the baking sheet well. If you’re still worried, you can use parchment paper, but the potatoes won’t brown quite as deeply as they do directly on the metal.

Try More Pioneer Woman Recipes:
- Pioneer Woman Potato Chip Cookies Recipe
- Pioneer Woman Candied Sweet Potatoes Recipe
- Pioneer Woman Crock Pot Scalloped Potatoes Recipe

Pioneer Woman Potato Nachos Recipe
Description
Pioneer Woman Potato Nachos are a hearty American side dish featuring thick rounds of russet potatoes. These baked slices are loaded with melted cheddar, crispy bacon, and pickled jalapeños for a salty, sharp finish.
Ingredients
Instructions
-
Prep the oven: Set your oven to 400°F (200°C) and make sure the rack is in the center position. Lightly grease two large baking sheets with a bit of oil or a quick spray so the starch doesn’t stick.
-
2. Slice the potatoes: Cut the potatoes into rounds that are roughly 1/4-inch thick using a sharp knife. Try to keep them as even as possible so they all finish baking at the same time.
-
3. Season the rounds: Toss the slices in a large bowl with the olive oil, seasoned salt, and pepper until every piece is coated. Lay them out on the baking sheets in a single layer, making sure they aren’t overlapping or touching too much.
-
4. First bake: Slide the pans into the oven and bake for about 20 minutes before flipping each slice over with a spatula. Give them another 15 to 20 minutes until they’re golden brown and feel soft in the middle when poked with a fork.
-
5. Add the toppings: Move all the cooked potatoes onto one tray and bunch them together slightly so there aren’t big gaps. Cover the pile with the shredded cheese, crumbled bacon, and jalapeño slices.
-
6. Melt the cheese: Put the tray back in the oven for about 5 minutes or until the cheese is bubbling and completely melted. Keep a close eye on it during these last few minutes so the bacon doesn’t scorched.
- 7. Add the cold toppings: Pull the tray out and scatter the green onions over the top while everything is still hot. Serve the sour cream and salsa in small bowls on the side or dollop them right onto the middle of the pile