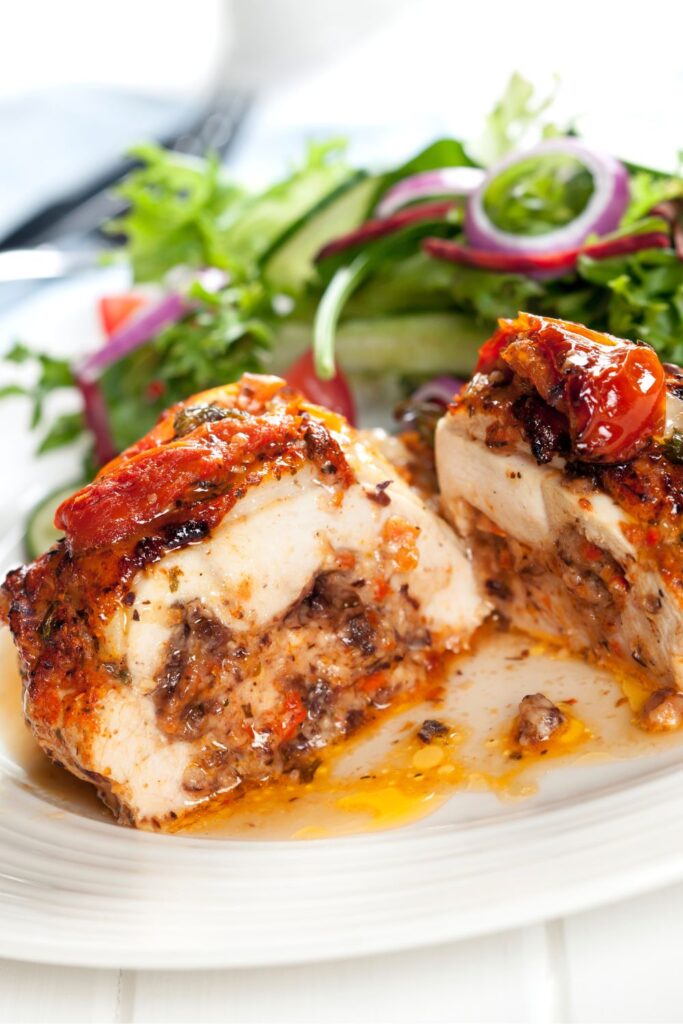
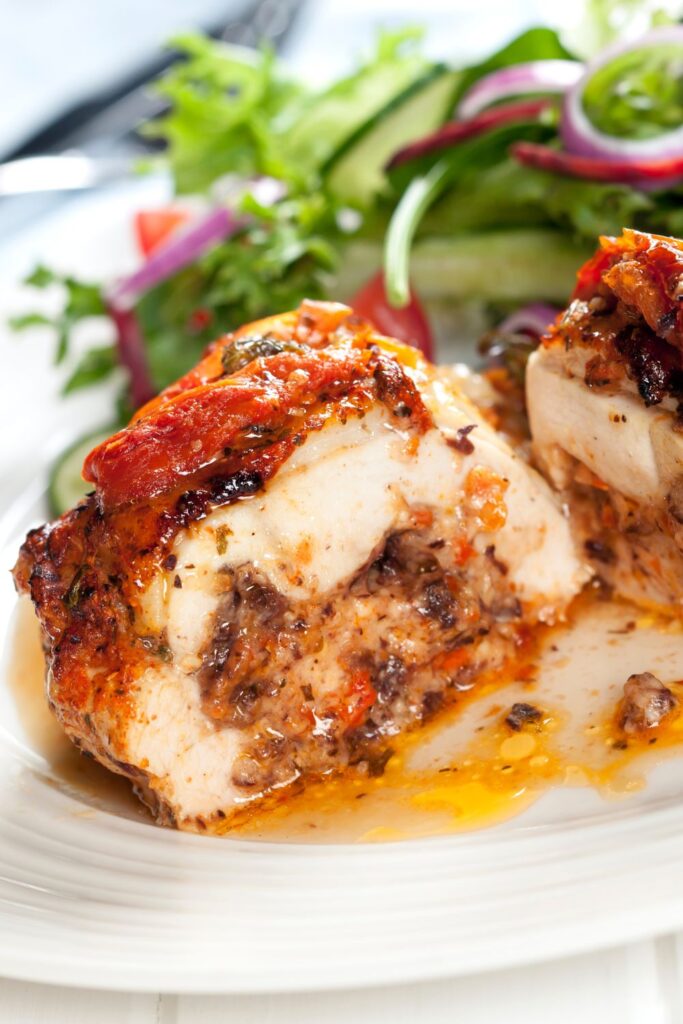
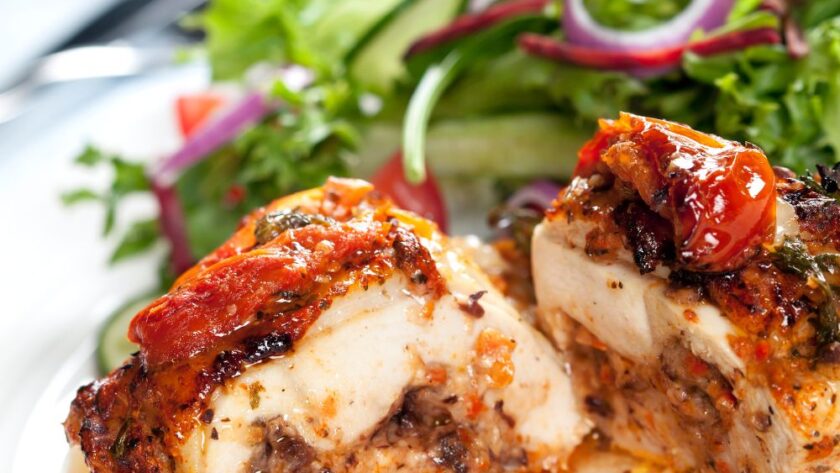
Enjoy the world of Jamie Oliver’s Chicken Ballotine, a tasty treat made with garlic, onion, butter, and carrot.With bone-in, skin-on chicken thighs, this culinary masterpiece offers skin that is golden brown and crisp in just 25 to 30 minutes at 425˺F.
More Jamie Oliver Recipe:
- Jamie Oliver Chicken Saltimbocca
- Jamie Oliver Chicken Pathia Recipe
- Jamie Oliver Apricots Chicken Tagine
🤎 Why You’ll Love This Chicken Ballotine Recipe:
- Succulent Flavor: Each bite bursts with the rich blend of butter, shallot, carrot, and garlic.
- Easy Process: Streamlined steps make this recipe accessible for all.
- Elegant Presentation: Impress with neatly wrapped chicken thighs showcasing a culinary mastery.
❓ What Is Jamie Oliver Chicken Ballotine Recipe?
Jamie Oliver’s Chicken Ballotine combines finely ground chicken thighs, veggies, and seasoning, encased in crispy skin. A flavorful delight, showcasing culinary finesse in every bite.

🍗Jamie Oliver Chicken Ballotine Ingredients
- 2 tablespoons butter
- 1 medium shallot finely chopped
- 1 medium carrot finely chopped
- 3 medium cloves garlic finely chopped
- ½ teaspoon kosher salt divided, plus more for seasoning skin
- ¼ teaspoon freshly ground black pepper plus more for seasoning skin
- olive oil or other vegetable oil, for brushing the rack
- 4 bone-in, skin-on chicken thighs
🍲 How To Make Jamie Oliver Chicken Ballotine
- Add the onion, carrot, garlic, and ½ teaspoon of kosher salt to a large skillet that is set over medium-low heat.
- Melt the butter. Stir the food for one to two minutes, or until it’s soft. Take it off the heat and let it cool down.
- Warm the oven up to 425˺F.
- Put parchment paper on a baking sheet to make it easier to clean up, then put an oven-safe baking rack on top of it. Brush the rack lightly with oil to keep things from sticking. Carefully peel the chicken legs off in one piece, using a sharp paring knife if necessary. Set the skin aside.
- Turn the chicken leg around so you can see the bone. Carefully cut each side of the bone along its length with the tip of a sharp cutting knife.
- Make more cuts along each side of the bone until it’s all revealed. Once you’ve cut most of the meat off the bone, pull the bone away and use the knife to get rid of it all.
- Cut the leg meat into four to six large pieces. Do it again with the rest of the chicken parts.
- Then put the chicken thighs, veggies, the last ½ teaspoon of kosher salt, and pepper in the bowl of a food processor. Pulse until the meat is finely ground (not pureed) and the other ingredients are well-mixed.
- Place the skins of the thighs on a big cutting board with the top side down.
- Cut the meat mixture into four equal pieces and put one piece in the middle of each skin.
- Starting on one side and working your way around, pull the skin’s edges over the meat mixture to cover it fully.
- Place the wrapped meat on a rack in a baking sheet with the edges facing down.
- Add salt and pepper to the skin. For 25 to 30 minutes, or until the skin is golden brown and crisp and a quick read thermometer reads 165˺F inside.
💭 Recipe Tips:
- Low Heat for Aromatics: Sautéing onion, carrot, and garlic over medium-low heat extracts flavors without browning.
- Cool Butter Mixture: Allow the melted butter and sautéed vegetables to cool before further preparation.
- Preheat Oven: Ensure the oven is fully preheated to 425˺F for optimal cooking conditions.
- Use Parchment Paper: Line the baking sheet with parchment paper for easy cleanup and to prevent sticking.

🍚 What To Serve With Chicken Ballotine?
You can serve Chicken Ballotine with Fresh Side Salad, Roasted Vegetables, Mashed Potatoes, Steamed Green Beans, Garlic Herb Quinoa, Wild Rice Pilaf, Grilled Asparagus.
🎚 How To Store Leftovers Chicken Ballotine?
- In the fridge: Store Leftovers Chicken ballcot in an airtight container for up to 3 days.
- In the freezer: Leftovers Chicken Ballotine can be placed in a sealed bag to store for up to 3 months.
🥵 How To Reheat Leftovers Chicken Ballotine?
- In the Oven: Place Leftovers Chicken Ballotine on a baking sheet and reheat for 15-20 minutes at 350°F.
- In the Microwave: Cover leftover chicken Ballotine with a damp paper towel on a microwave-safe plate and heat for 2-3 minutes.
- In the Air-Fryer: Reheat leftover chicken balloons in the air-fryer for 8-10 minutes.
FAQ’S
Is It Essential To Brush The Baking Rack With Oil?
Yes, it’s essential to brush the baking rack with oil to prevent sticking and ensure a smooth release of the Chicken Ballotine.
How Do I Know If The Skin Is Properly Crisped?
The skin is properly crisped when it has a golden brown color and a crisp texture it should easily break with a fork.
Can I Use Different Types Of Oil For Brushing The Rack?
Yes, you can use different types of oil, such as olive oil or vegetable oil, for brushing the rack. It adds flavor and prevents sticking.
Is It Necessary To Use Parchment Paper On The Baking Sheet?
Yes, using parchment paper is necessary it aids in cleanup and prevents sticking, ensuring an easy release of the Chicken Ballotine after baking.
More Jamie Oliver Recipe:
- Jamie Oliver Apricots Chicken Tagine
- Jamie Oliver Coronation Chicken Recipe
- Jamie Oliver Chicken Liver Recipe
Jamie Oliver Chicken Ballotine Nutrition Fact:
- Calories: 312kcal
- Carbohydrates: 4g
- Protein: 19g
- Fat: 25g
- Saturated Fat: 9g
- Cholesterol: 126mg
- Sodium: 730mg
- Potassium: 310mg
- Fiber: 1g
- Sugar: 1g
- Calcium: 18mg
- Iron: 1mg
Jamie Oliver Chicken Ballotine
Description
Enjoy the world of Jamie Oliver’s Chicken Ballotine, a tasty treat made with garlic, onion, butter, and carrot.With bone-in, skin-on chicken thighs, this culinary masterpiece offers skin that is golden brown and crisp in just 25 to 30 minutes at 425˺F.
Ingredients
Instructions
- Add the onion, carrot, garlic, and ½ teaspoon of kosher salt to a large skillet that is set over medium-low heat.
- Melt the butter. Stir the food for one to two minutes, or until it’s soft. Take it off the heat and let it cool down.
- Warm the oven up to 425˺F.
- Put parchment paper on a baking sheet to make it easier to clean up, then put an oven-safe baking rack on top of it. Brush the rack lightly with oil to keep things from sticking. Carefully peel the chicken legs off in one piece, using a sharp paring knife if necessary. Set the skin aside.
- Turn the chicken leg around so you can see the bone. Carefully cut each side of the bone along its length with the tip of a sharp cutting knife.
- Make more cuts along each side of the bone until it’s all revealed. Once you’ve cut most of the meat off the bone, pull the bone away and use the knife to get rid of it all.
- Cut the leg meat into four to six large pieces. Do it again with the rest of the chicken parts.
- Then put the chicken thighs, veggies, the last ½ teaspoon of kosher salt, and pepper in the bowl of a food processor. Pulse until the meat is finely ground (not pureed) and the other ingredients are well-mixed.
- Place the skins of the thighs on a big cutting board with the top side down.
- Cut the meat mixture into four equal pieces and put one piece in the middle of each skin.
- Starting on one side and working your way around, pull the skin’s edges over the meat mixture to cover it fully.
- Place the wrapped meat on a rack in a baking sheet with the edges facing down.
- Add salt and pepper to the skin. For 25 to 30 minutes, or until the skin is golden brown and crisp and a quick read thermometer reads 165˺F inside.
Notes
- Low Heat for Aromatics: Sautéing onion, carrot, and garlic over medium-low heat extracts flavors without browning.
Cool Butter Mixture: Allow the melted butter and sautéed vegetables to cool before further preparation.
Preheat Oven: Ensure the oven is fully preheated to 425˺F for optimal cooking conditions.
Use Parchment Paper: Line the baking sheet with parchment paper for easy cleanup and to prevent sticking.

