Check out this awesome guide to making pear preserves, inspired by the Pioneer Woman’s recipe. Get ready to taste the sweet and flavorful goodness! Hey, let’s check out what’s up with pear jam and pear preserves! We’ll find out which type of pear is the best for making preserves and get some tips on how to make the perfect batch. Hey, get excited about some delicious pear preserves that you can put on all your favorite baked goods and breakfast treats!
What Is The Difference Between Pear Jam And Pear Preserves?
Pear jam and pear preserves are both sweet spreads made from pears, sugar, and sometimes pectin. The main difference between the two lies in the texture and consistency.
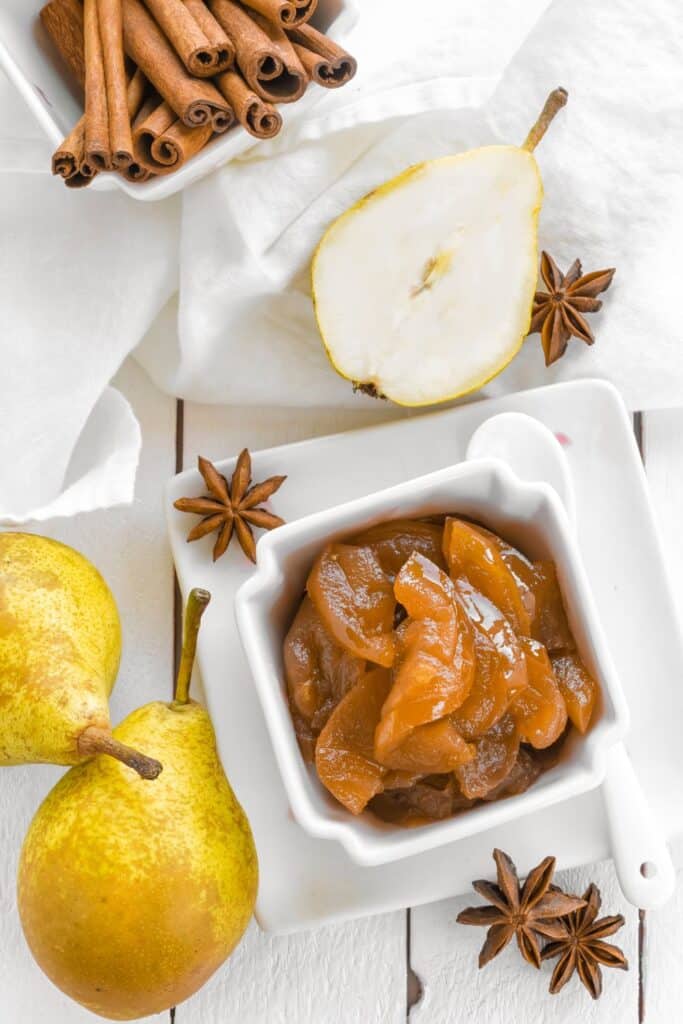
Pear jam is typically smoother, with the fruit pureed or mashed before cooking. Pear preserves, on the other hand, have chunks of fruit in a thick, sweet syrup, giving them a more rustic and hearty texture.
Which Pear Makes The Best Preserves?
The best pears for making preserves are firm, slightly underripe varieties that hold their shape well during cooking. Some popular choices include Bosc, Anjou, and Bartlett Pears. These varieties have a good balance of sweetness and acidity, and their firm texture ensures that the preserves maintain a chunky consistency.

Pioneer Woman Pear Preserves Ingredients
- 4 cups peeled, cored, and chopped pears (Bosc, Anjou, or Bartlett)
- 2 cups granulated sugar
- 1/4 cup lemon juice
- 1/2 teaspoon ground cinnamon (optional)
- 1/4 teaspoon ground nutmeg (optional)
How To Make Pioneer Woman Pear Preserves
- In a large, heavy-bottomed saucepan, combine the chopped pears, sugar, lemon juice, and spices (if using). Let the mixture sit for about 30 minutes to allow the sugar to draw out the pears’ natural juices.
- Place the saucepan over medium heat and cook the mixture, stirring occasionally, until the sugar has dissolved. Bring the mixture to a simmer and cook for about 45 minutes to an hour, or until the pears have softened and the mixture has thickened.
- Once the preserves have reached the desired consistency, remove the saucepan from the heat and let it cool slightly. Spoon the preserves into sterilized jars, leaving 1/4-inch headspace. Seal the jars with their lids and process them in a boiling water bath for 10 minutes to ensure a proper seal and long-term storage.
- Allow the jars to cool completely, then store them in a cool, dark place. Refrigerate after opening.
How Ripe Should Pears Be For Preserves?
Pears for preserves should be firm and slightly underripe. This helps them maintain their shape and texture during the cooking process. Overripe pears can become mushy and may not yield the desired consistency for preserves.
Recipe Tips
- Use a wide, heavy-bottomed saucepan to ensure even heating and prevent scorching.
- Stir the preserves occasionally during cooking to prevent sticking and ensure even cooking.
- Adjust the spices to your personal taste preferences. You can also add other spices, such as cloves or allspice, for a more complex flavor.

Variations / Substituations
- Add other fruits to the preserves, such as apples, berries, or plums, for a unique flavor combination.
- Stir in some finely chopped crystallized ginger for a spicy, sweet twist.
- Substitute the granulated sugar with brown sugar or honey for a different sweet taste.
How Long Does Pear Preserve Last?
- In Fridge: Once opened, pear preserves will last for up to a month in the refrigerator. Make sure to store the jar in the fridge and use a clean spoon to scoop out the preserves.
- In Freezer: To freeze pear preserves, store them in an airtight container or freezer bag. Label the container with the date and contents, and store the preserves in the freezer for up to 6 months. Thaw the preserves in the refrigerator before using.
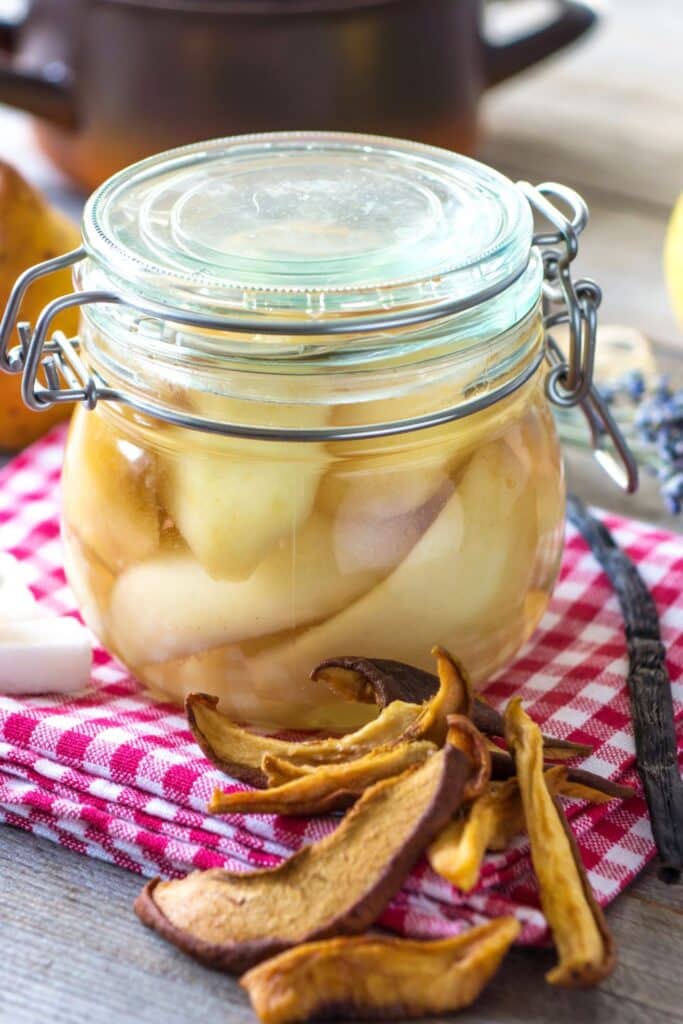
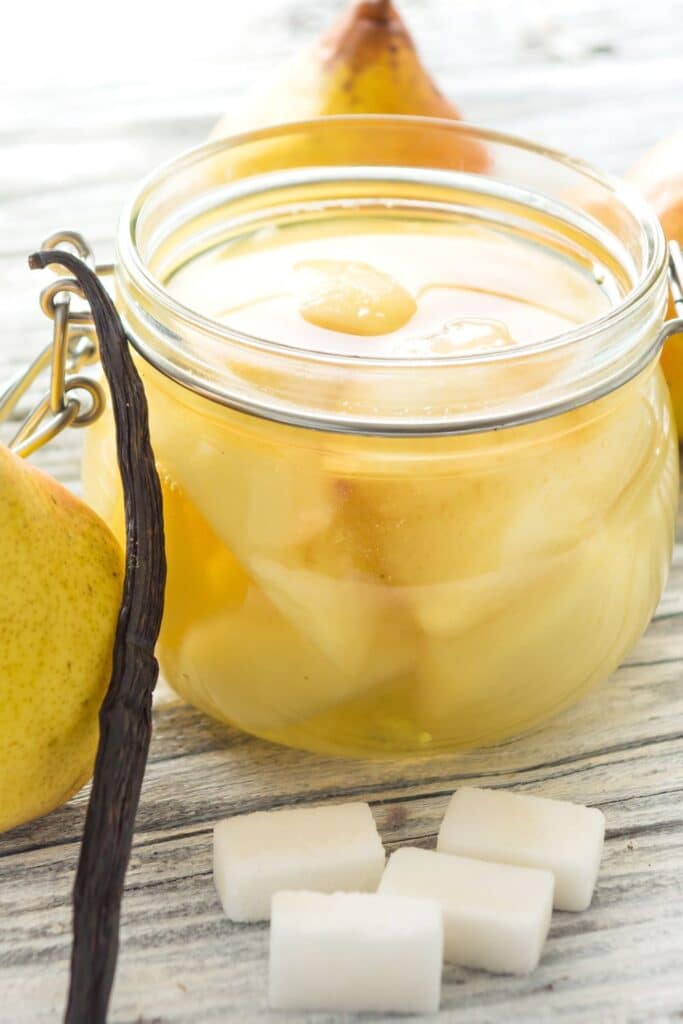
How Do You Preserve Pears In A Mason Jar?
To keep pears fresh in a mason jar, you can make a simple sauce with water and sugar, bring it to a boil, and pour it over the peeled and sliced pears in the jar.
To make sure the seal is good, boil the jar in a water bath for 20 to 30 minutes. Using this method will give you a soft, sweet pear that you can use in pies, salads, or just eat by itself.
What To Serve With Pear Preserves
Pear preserves can be enjoyed on toast, scones, biscuits, or pancakes for breakfast or brunch. They can also be used as a topping for ice cream or yogurt, paired with cheese and crackers, or used as a glaze for meats or roasted vegetables.

How Do You Thicken Pear Preserves?
To thicken pear preserves, you can either add pectin or cook the mixture for a long time until the liquid shrinks and thickens. Pectin is a natural thickener found in fruits that helps set preserves.
If you want to use pectin, follow the directions on the package and add it to the pears before you cook. Make sure you use the right amount of pectin for the amount of fruit you are using to get the consistency you want.
How Do You Thicken Pear Preserve Without Pectin?
If you don’t want to use pectin, you can still make pear preserves by cooking the mixture for a longer time, until it thickens and shrinks. Make sure the mixture is simmering slowly and stir it every so often so it doesn’t stick. It might take longer to get the right texture, but the end result will be just as tasty.
Can You Use Cornstarch To Thicken Pear Preserves?
Cornstarch is often used to thicken sauces and gravies, but it shouldn’t be used to make preserves. Cornstarch can make the preserves cloudy and thicken unevenly, which changes the way the end product feels and looks.
How Do You Fix Runny Pear Preserves?
If your pear preserves are too runny, you can either cook the mixture longer until it thickens or add more pectin to the mixture and bring it to a boil again. To get the right consistency, make sure to use the right amount of pectin for the amount of fruit you’re using.
Pioneer Woman Pear Preserves Nutrition Facts
- Calories 50
- Total Fat 0g
- Sodium 0mg
- Total Carbohydrate 12g
- Dietary Fiber 0g
- Sugars 10g
- Protein 0g
- Vitamin A 0%
- Vitamin C 0%
- Calcium 0%
- Iron 0%
FAQs
- How long does it take to make pear preserves? It can take anywhere from 45 minutes to an hour to make pear preserves, depending on the ripeness of the pears and the desired consistency.
- Can I double or halve the recipe? Yes, you can adjust the recipe to make more or fewer pear preserves, depending on your needs. Just make sure to adjust the cooking time accordingly and use a wide, heavy-bottomed saucepan to ensure even heating.
- Do I need to sterilize the jars for pear preserves? Yes, it’s important to sterilize the jars before filling them with preserves to prevent the growth of bacteria and ensure a proper seal. You can sterilize the jars by boiling them in water for 10 minutes, or by running them through a dishwasher cycle.
- Can I use a slow cooker to make pear preserves? Yes, you can make pear preserves in a slow cooker by combining the ingredients and cooking on low for 6-8 hours, or until the mixture has thickened. However, using a slow cooker may result in a softer, less chunky consistency compared to stove-top cooking.
Try More Pioneer Woman Dessert Recipes:
Pioneer Woman Pear Preserves
Description
Pioneer Woman Pear Preserves is a sweet and flavorful spread made from ripe pears, sugar, and lemon juice. This recipe yields chunky and textured preserves that can be enjoyed on toast, scones, or paired with cheese and crackers. With a cooking time of approximately 45 minutes to an hour, this recipe is easy to make and yields a delicious result that can be stored for up to a year.
Ingredients
Instructions
- In a large, heavy-bottomed saucepan, combine the chopped pears, sugar, lemon juice, and spices (if using). Let the mixture sit for about 30 minutes to allow the sugar to draw out the pears’ natural juices.
- Place the saucepan over medium heat and cook the mixture, stirring occasionally, until the sugar has dissolved. Bring the mixture to a simmer and cook for about 45 minutes to an hour, or until the pears have softened and the mixture has thickened.
- Once the preserves have reached the desired consistency, remove the saucepan from the heat and let it cool slightly. Spoon the preserves into sterilized jars, leaving 1/4-inch headspace. Seal the jars with their lids and process them in a boiling water bath for 10 minutes to ensure a proper seal and long-term storage.
- Allow the jars to cool completely, then store them in a cool, dark place. Refrigerate after opening.

