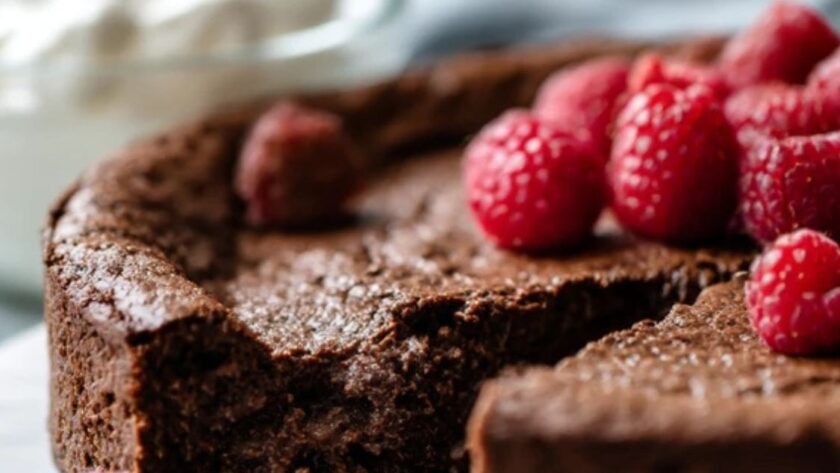
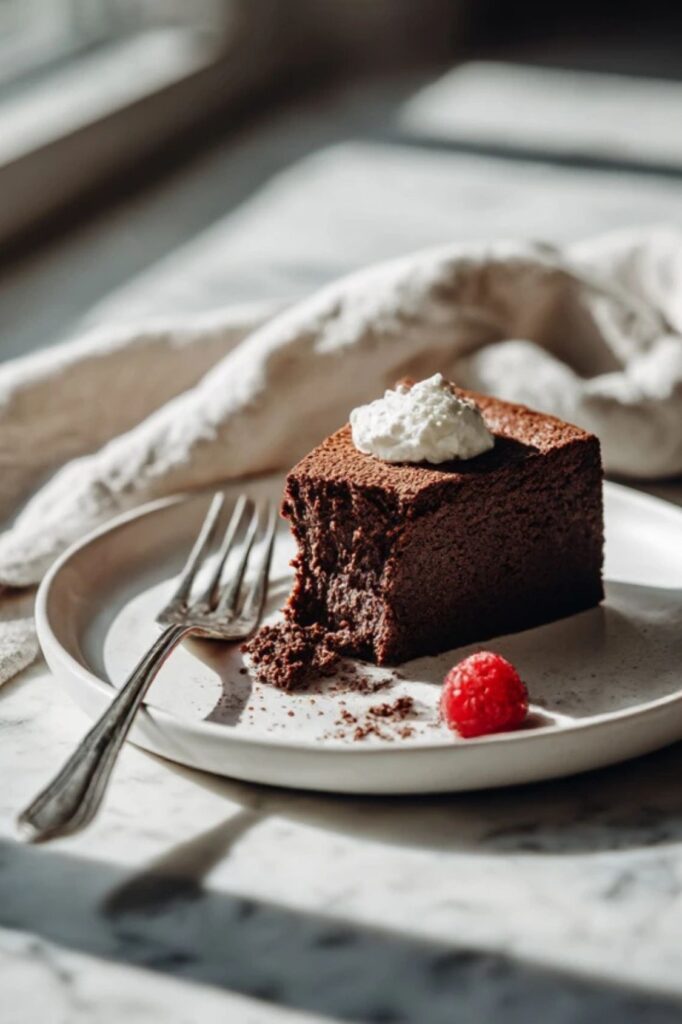
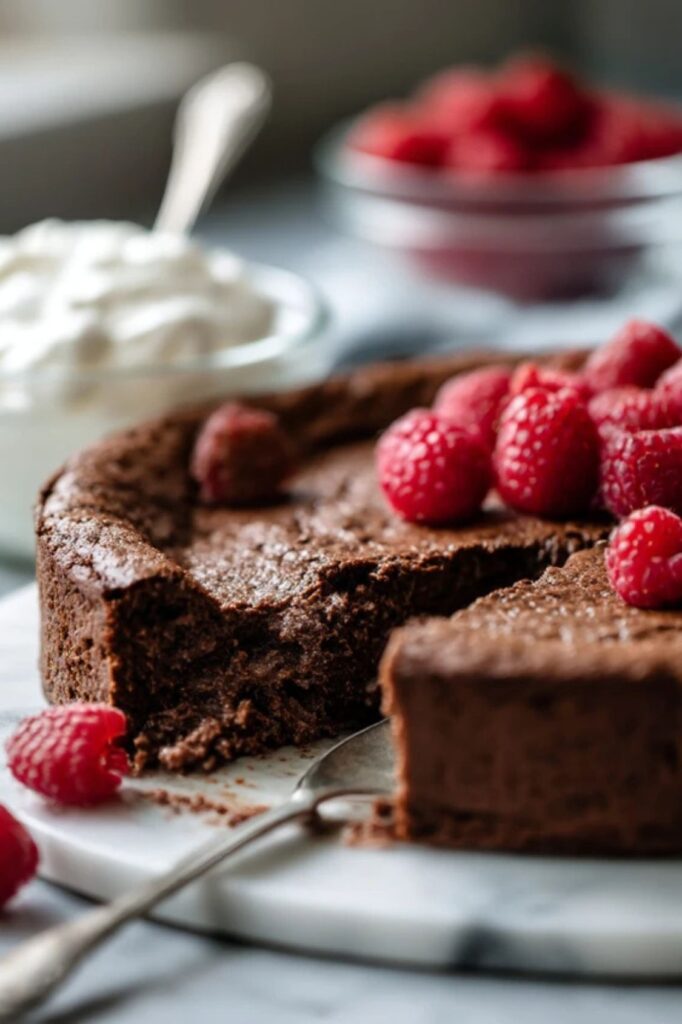
Ina Garten Flourless Chocolate Cake is a classic American dessert that’s naturally gluten-free. This dense, fudgy treat features dark chocolate, eggs, and butter for a rich finish that’s better than any boxed brownie.
If you do nothing else, make sure you don’t overbake this cake. That’s the difference between a fudgy, truffle-like center and a dry, crumbly mess that feels like a standard sponge. I’ve found that taking it out while the middle still looks a bit soft is the only way to get that signature texture. It continues to set as it cools on the counter, so have patience before you try to slice into it.
The quality of your chocolate is doing more work than you’d think here. Without a good bar that has at least 60% cocoa, the cake ends up tasting sugary rather than deep and intense. I learned that using cheap chips often leaves a waxy feel on the roof of your mouth because they contain stabilizers. It’s one of my favorite things to make for a dinner party because you can prep the whole thing a day early.
Ina Garten Flourless Chocolate Cake Ingredients
For the Cake
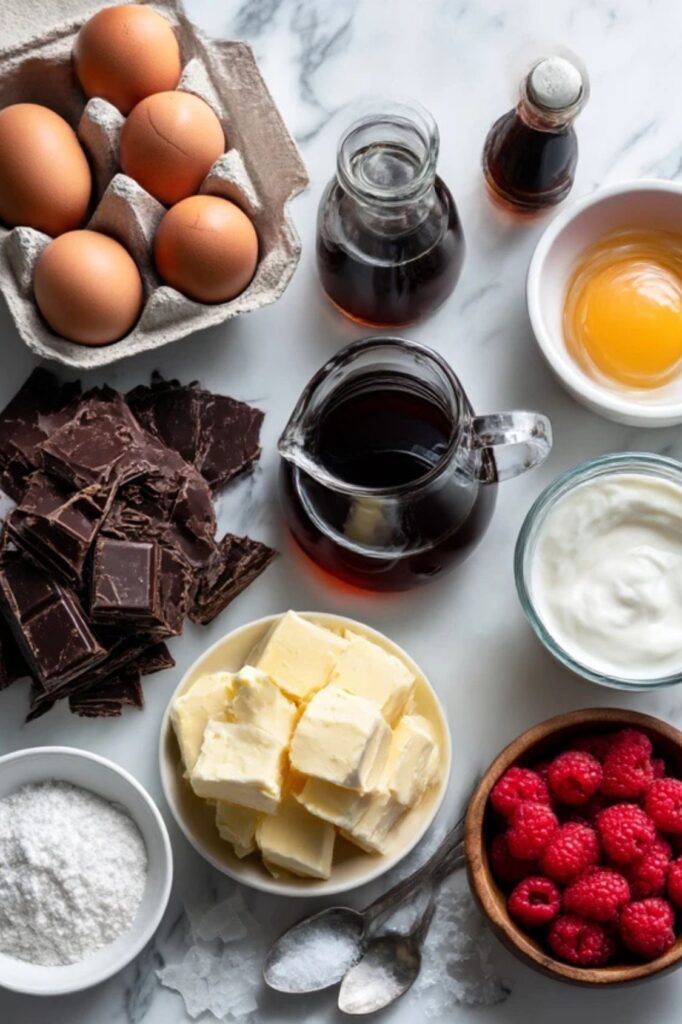
- 1 lb (454g) bittersweet chocolate, chopped
- 1/2 lb (227g) unsalted butter, cut into 1-inch (2.5cm) cubes
- 1 tsp (5ml) pure vanilla extract
- 1/4 cup (60ml) hot brewed coffee
- 8 large eggs, at room temperature
- 1/4 tsp (1.5g) kosher salt
- 1/2 cup (100g) granulated sugar
For Serving
- 1 cup (240ml) heavy cream, chilled
- 1 tbsp (12g) granulated sugar
- 1/2 tsp (2.5ml) pure vanilla extract
- Fresh raspberries
How To Make Ina Garten Flourless Chocolate Cake
- 1. Prep the oven and pan: Heat your oven to 350°F (175°C). Butter a 9-inch (23cm) springform pan and line the bottom with a circle of parchment paper. Wrap the outside of the pan tightly with two layers of heavy-duty aluminum foil to keep any water from leaking in.
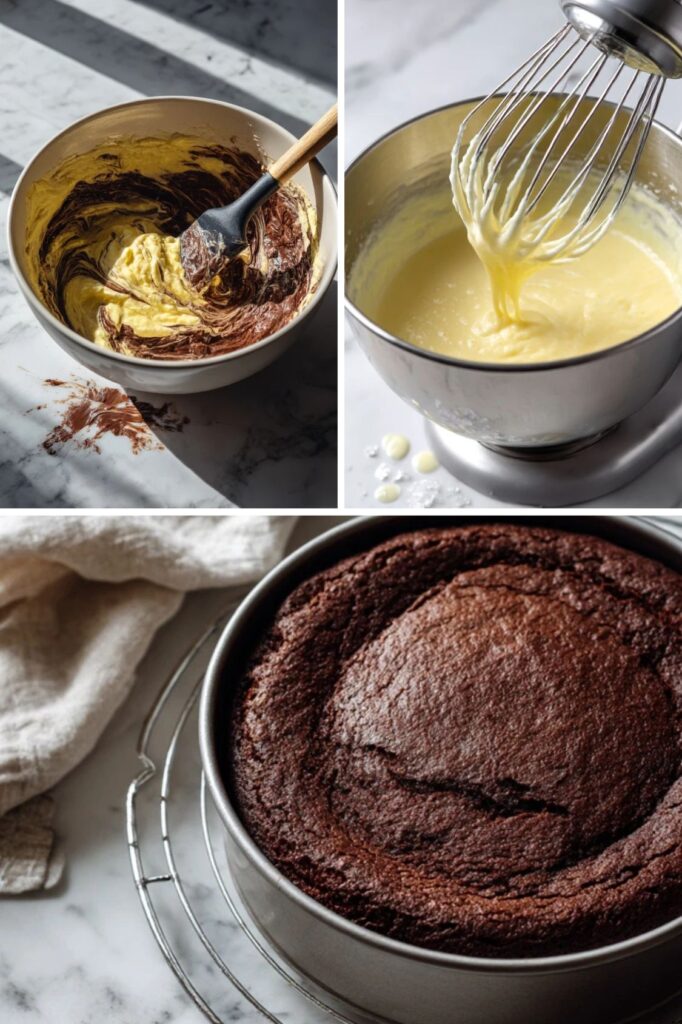
- 2. Melt the chocolate and butter: Put the chopped chocolate and butter cubes into a large heat-proof bowl set over a pot of simmering water. Stir occasionally until the mixture is smooth and glossy. Remove the bowl from the heat and stir in the vanilla and hot coffee.
- 3. Beat the eggs: Place the eggs, salt, and sugar in the bowl of a stand mixer fitted with the whisk attachment. Beat on medium-high speed for about 5 to 10 minutes until the eggs are pale yellow and have tripled in volume.
- The eggs should be thick enough that when you lift the whisk, the ribbon of batter stays on the surface for a few seconds. This air is the only thing that gives the cake its lift since there’s no flour or baking powder.
- 4. Combine the mixtures: Gently mix about one-third of the egg mixture into the warm chocolate using a rubber spatula. Once that’s mixed in, add the rest of the eggs and continue to gently mix until no yellow streaks remain.
- Use a large, light sweeping motion to bring the chocolate up from the bottom of the bowl. If you’re too rough here, you’ll knock all the air out and the cake will be flat and heavy.
- 5. Set up the water bath: Pour the batter into the prepared springform pan and place it inside a large roasting pan. Pour boiling water into the roasting pan until it reaches halfway up the sides of the springform pan.
- 6. Bake the cake: Carefully slide the roasting pan into the oven and bake for 45 to 50 minutes. The cake is done when the edges are set and the center has risen slightly but still jiggles just a little bit.
- 7. Cool and chill: Remove the springform pan from the water bath and take off the foil. Let it cool completely on a wire rack at room temperature. Once it’s cool, cover it and put it in the fridge for at least 4 hours or overnight.
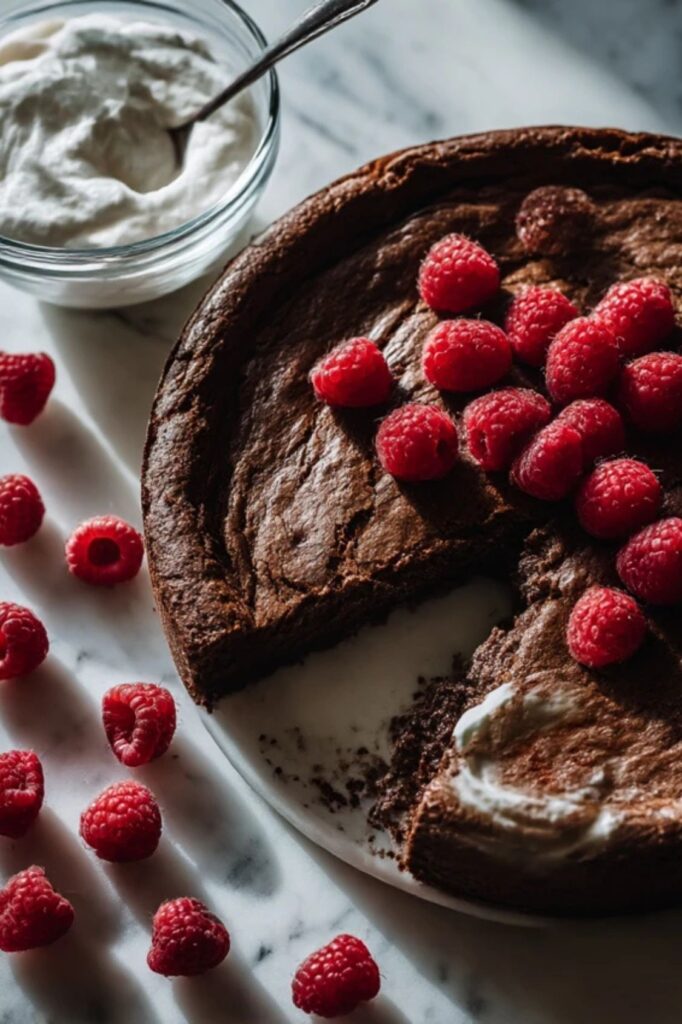
- 8. Prepare the cream: When you’re ready to serve, beat the heavy cream, sugar, and vanilla in a chilled bowl until soft peaks form. Run a thin knife around the edge of the cake before opening the springform ring. Top each slice with a dollop of cream and a few fresh berries.
Recipe Tips
- Check your egg temperature. Cold eggs won’t whip up to the same volume as room-temperature ones. If you forgot to take them out of the fridge, put them in a bowl of warm water for 5 minutes to take the chill off.
- Use a serrated knife for clean slices. This cake is very dense and sticky, so a regular blade might squish it. Wiping the knife with a damp cloth between every single cut keeps the edges looking sharp and professional.
- Don’t skip the coffee. You won’t actually taste the espresso or java in the finished dessert. It just acts as a flavor booster that makes the chocolate taste darker and less cloying.
- Watch the water level. Make sure no water splashes into the batter when you’re filling the roasting pan. Even a tiny bit of moisture can cause the chocolate to seize or make the top of the cake soggy.
- Prep the pan carefully. Since there’s no flour, this cake loves to stick to the sides of the metal. Taking the extra minute to butter the pan and use parchment paper means it’ll actually come out in one piece.
- Make it a day ahead. This is one of those rare desserts that actually tastes better after 24 hours in the fridge. The flavors have more time to settle and the texture becomes even more like a truffle.
What To Serve With Flourless Chocolate Cake
A dollop of unsweetened whipped cream or a scoop of vanilla bean ice cream is the classic choice here. The cold dairy helps balance the intensity of the dark cocoa.
Fresh tart fruit like blackberries or a simple raspberry sauce works well too. If you’re feeling fancy, a drizzle of salted caramel or a sprinkle of flaky sea salt adds a nice savory edge.
How To Store Flourless Chocolate Cake
- Fridge: Keep any leftovers in an airtight container or wrap the pan tightly with plastic wrap. It’ll stay fresh and fudgy for up to 5 days.
- Reheat: This cake is best served cold or at room temperature, so reheating isn’t recommended. If you want it a bit softer, just let a slice sit on the counter for 20 minutes before you eat it.
- Freeze: Wrap individual slices in plastic wrap and then a layer of foil. They’ll keep in the freezer for up to 3 months, but make sure to thaw them in the fridge overnight.
Ina Garten Flourless Chocolate Cake Nutrition Facts
Per serving (1 of 12):
- Calories: 480 kcal
- Protein: 6g
- Fat: 38g
- Carbohydrates: 31g
- Sugar: 24g
- Sodium: 95mg
FAQs
Can I make Ina Garten Flourless Chocolate Cake without a water bath?
You can, but the edges will likely overcook and become tough before the middle is set. The water bath keeps the heat gentle and even so the texture stays creamy from the outside to the very center.
Why did my Ina Garten Flourless Chocolate Cake sink in the middle?
A small amount of sinking is normal as the air bubbles from the whipped eggs settle. If it craters deeply, you might have beaten too much air in or taken it out of the oven way too early.
What kind of chocolate is best for this recipe?
Use a high-quality bittersweet bar with around 60% to 70% cacao. Avoid using standard semi-sweet chocolate chips because they have less cocoa butter and won’t melt into the same smooth consistency.
Can I use a different size pan for this cake?
No, you really need a 9-inch springform pan to get the right height and baking time. Using a smaller pan will make the cake too thick to cook through, and a larger one will result in a thin, dry disc.
Does this cake need to be refrigerated?
Yes, because of the high egg and butter content, it needs to stay in the fridge. Keeping it cold also helps maintain that dense, fudge-like structure that makes the recipe so famous.
Try More Recipes:
- Ina Garten Fig Ricotta Cake
- Ina Garten German Chocolate Cake
- Ina Garten Lemon Poppyseed Cake
- Ina Garten Blueberry Crumb Cake
- Ina Garten Blueberry Ricotta Cake

Ina Garten Flourless Chocolate Cake
Description
Ina Garten Flourless Chocolate Cake is a classic American dessert that’s naturally gluten-free. This dense, fudgy treat features dark chocolate, eggs, and butter for a rich finish that’s better than any boxed brownie.
Ingredients
For the Cake
For Serving
Instructions
-
Prep the oven and pan: Heat your oven to 350°F (175°C). Butter a 9-inch (23cm) springform pan and line the bottom with a circle of parchment paper. Wrap the outside of the pan tightly with two layers of heavy-duty aluminum foil to keep any water from leaking in.
-
2. Melt the chocolate and butter: Put the chopped chocolate and butter cubes into a large heat-proof bowl set over a pot of simmering water. Stir occasionally until the mixture is smooth and glossy. Remove the bowl from the heat and stir in the vanilla and hot coffee.
-
3. Beat the eggs: Place the eggs, salt, and sugar in the bowl of a stand mixer fitted with the whisk attachment. Beat on medium-high speed for about 5 to 10 minutes until the eggs are pale yellow and have tripled in volume.
The eggs should be thick enough that when you lift the whisk, the ribbon of batter stays on the surface for a few seconds. This air is the only thing that gives the cake its lift since there’s no flour or baking powder.
-
4. Combine the mixtures: Gently mix about one-third of the egg mixture into the warm chocolate using a rubber spatula. Once that’s mixed in, add the rest of the eggs and continue to gently mix until no yellow streaks remain.
Use a large, light sweeping motion to bring the chocolate up from the bottom of the bowl. If you’re too rough here, you’ll knock all the air out and the cake will be flat and heavy.
-
5. Set up the water bath: Pour the batter into the prepared springform pan and place it inside a large roasting pan. Pour boiling water into the roasting pan until it reaches halfway up the sides of the springform pan.
-
6. Bake the cake: Carefully slide the roasting pan into the oven and bake for 45 to 50 minutes. The cake is done when the edges are set and the center has risen slightly but still jiggles just a little bit.
-
7. Cool and chill: Remove the springform pan from the water bath and take off the foil. Let it cool completely on a wire rack at room temperature. Once it’s cool, cover it and put it in the fridge for at least 4 hours or overnight.
- 8. Prepare the cream: When you’re ready to serve, beat the heavy cream, sugar, and vanilla in a chilled bowl until soft peaks form. Run a thin knife around the edge of the cake before opening the springform ring. Top each slice with a dollop of cream and a few fresh berries.